How to configure IPTV function on TP-Link Wi-Fi router
Introduction
This article will introduce the configuration of the IPTV function and guide you in configuring it on TP-Link Wi-Fi router correctly.
Requirements
- TP-Link Wi-Fi Router
- Set‑top box
- An active IPTV subscription from your Internet Service Provider (ISP)
- IPTV configuration details provided by your ISP
Configuration
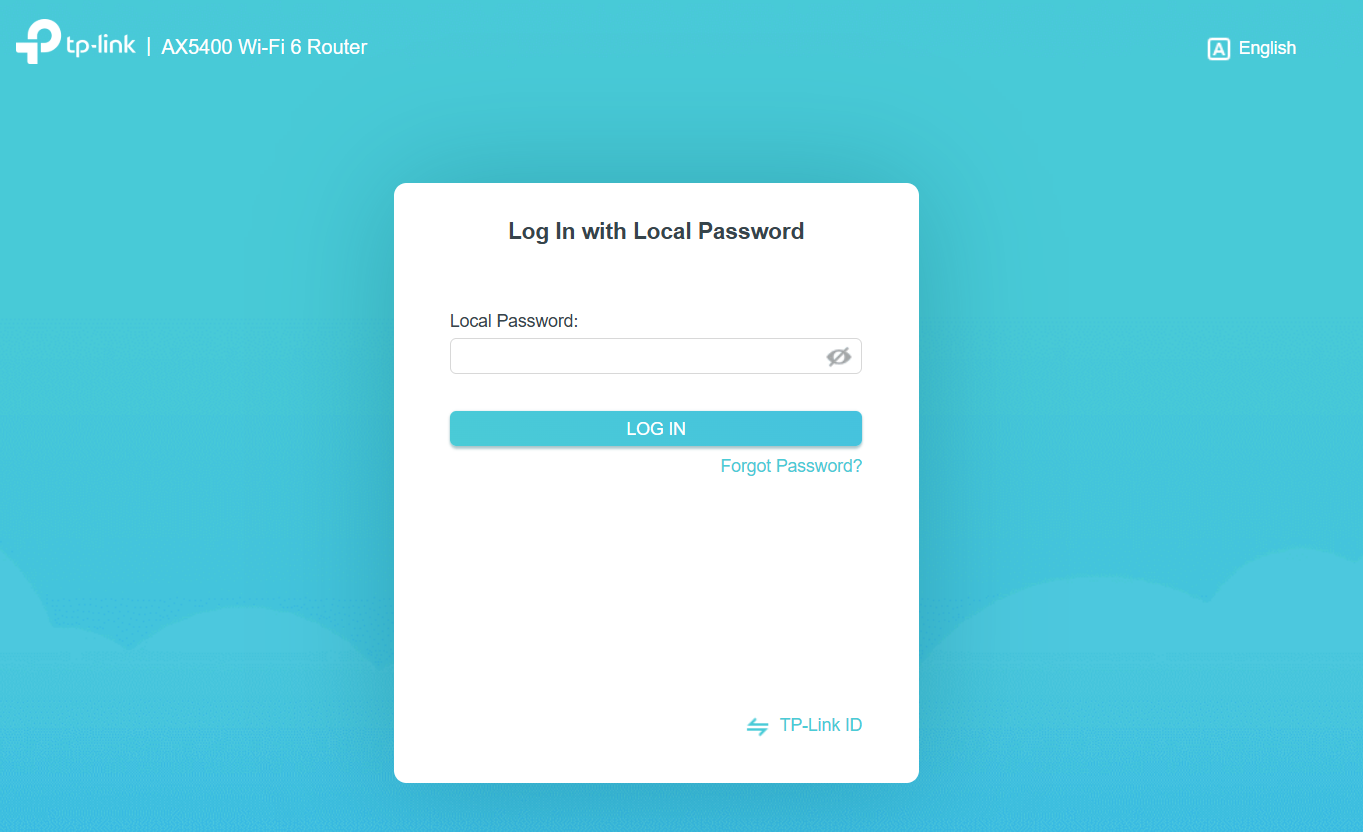
Step 1. Log in to the TP-Link device by typing http://tplinkwifi.net in the address bar of any web browser (such as Chrome or Firefox).
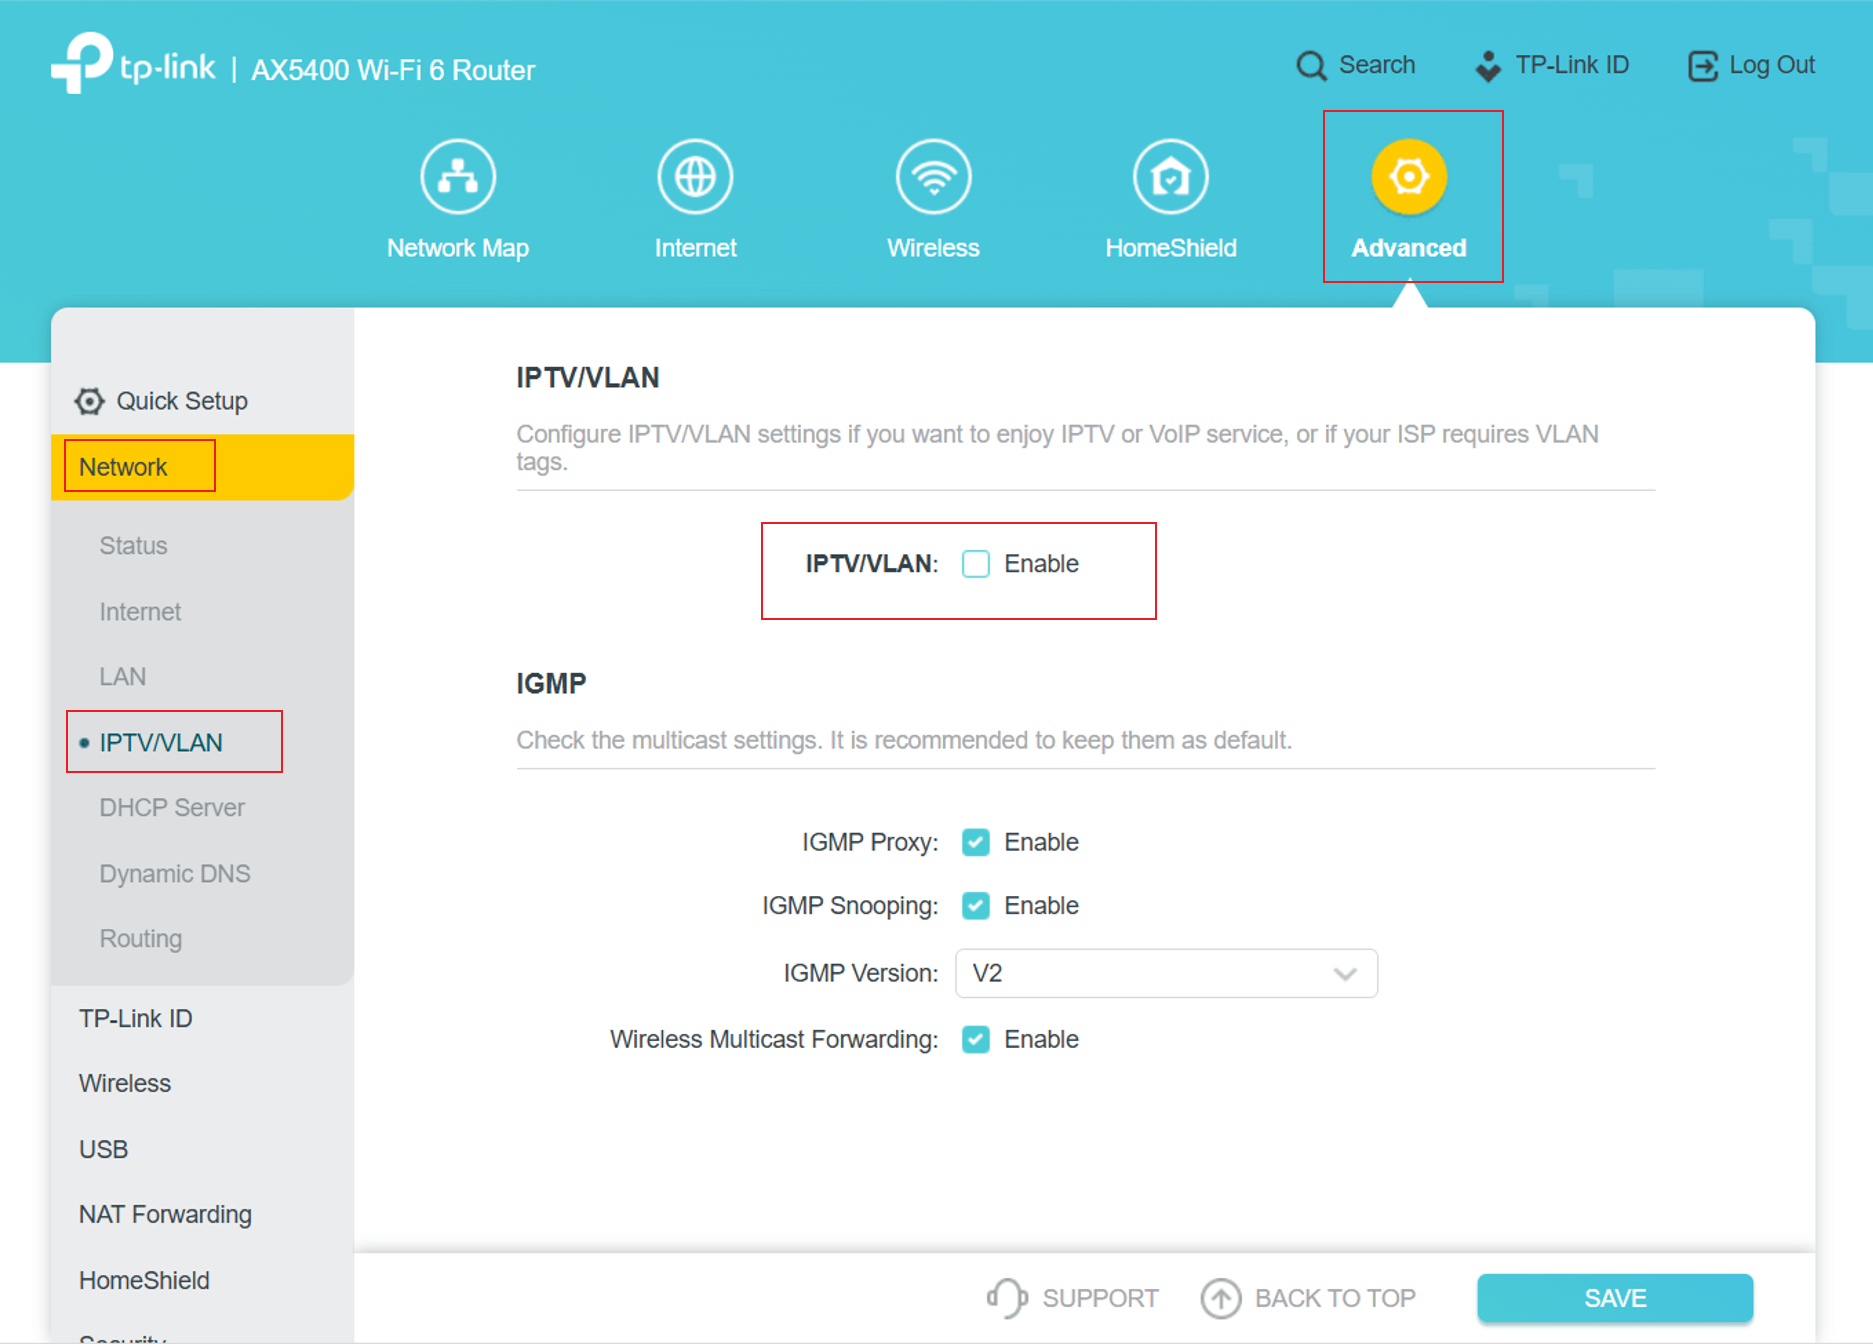
Step 2. Navigate to Advanced > Network > IPTV/VLAN and enable IPTV/VLAN.
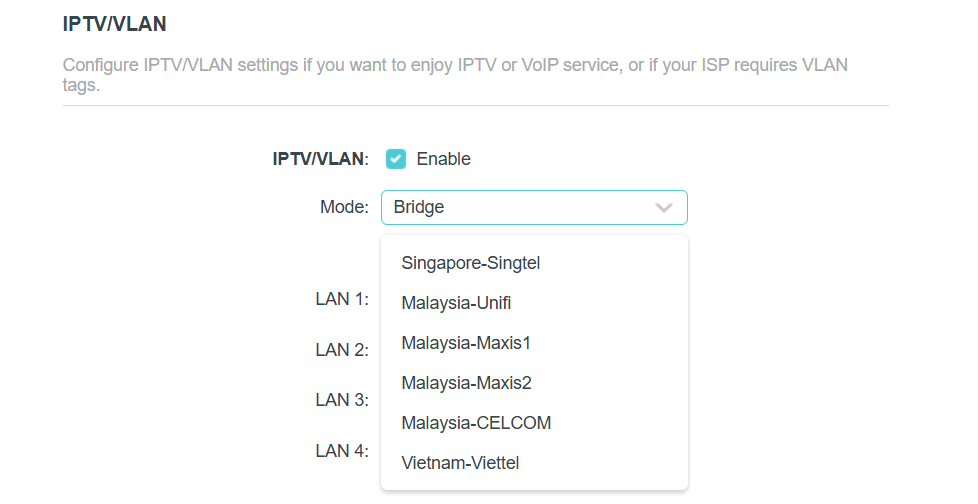
Step 3. Select the built-in profile when your ISP is in the list. Otherwise, continue with the next step.
Note:
- Obviously, the ISP options in the list are designed for specific ISPs in different regions.
- Bridge mode doesn’t need you to type in VLAN information; we just use this mode when the ISP doesn’t require VLAN settings.
- Custom mode is used for some of the ISPs that require 802.1Q VLAN settings for IPTV service.
Step 4.
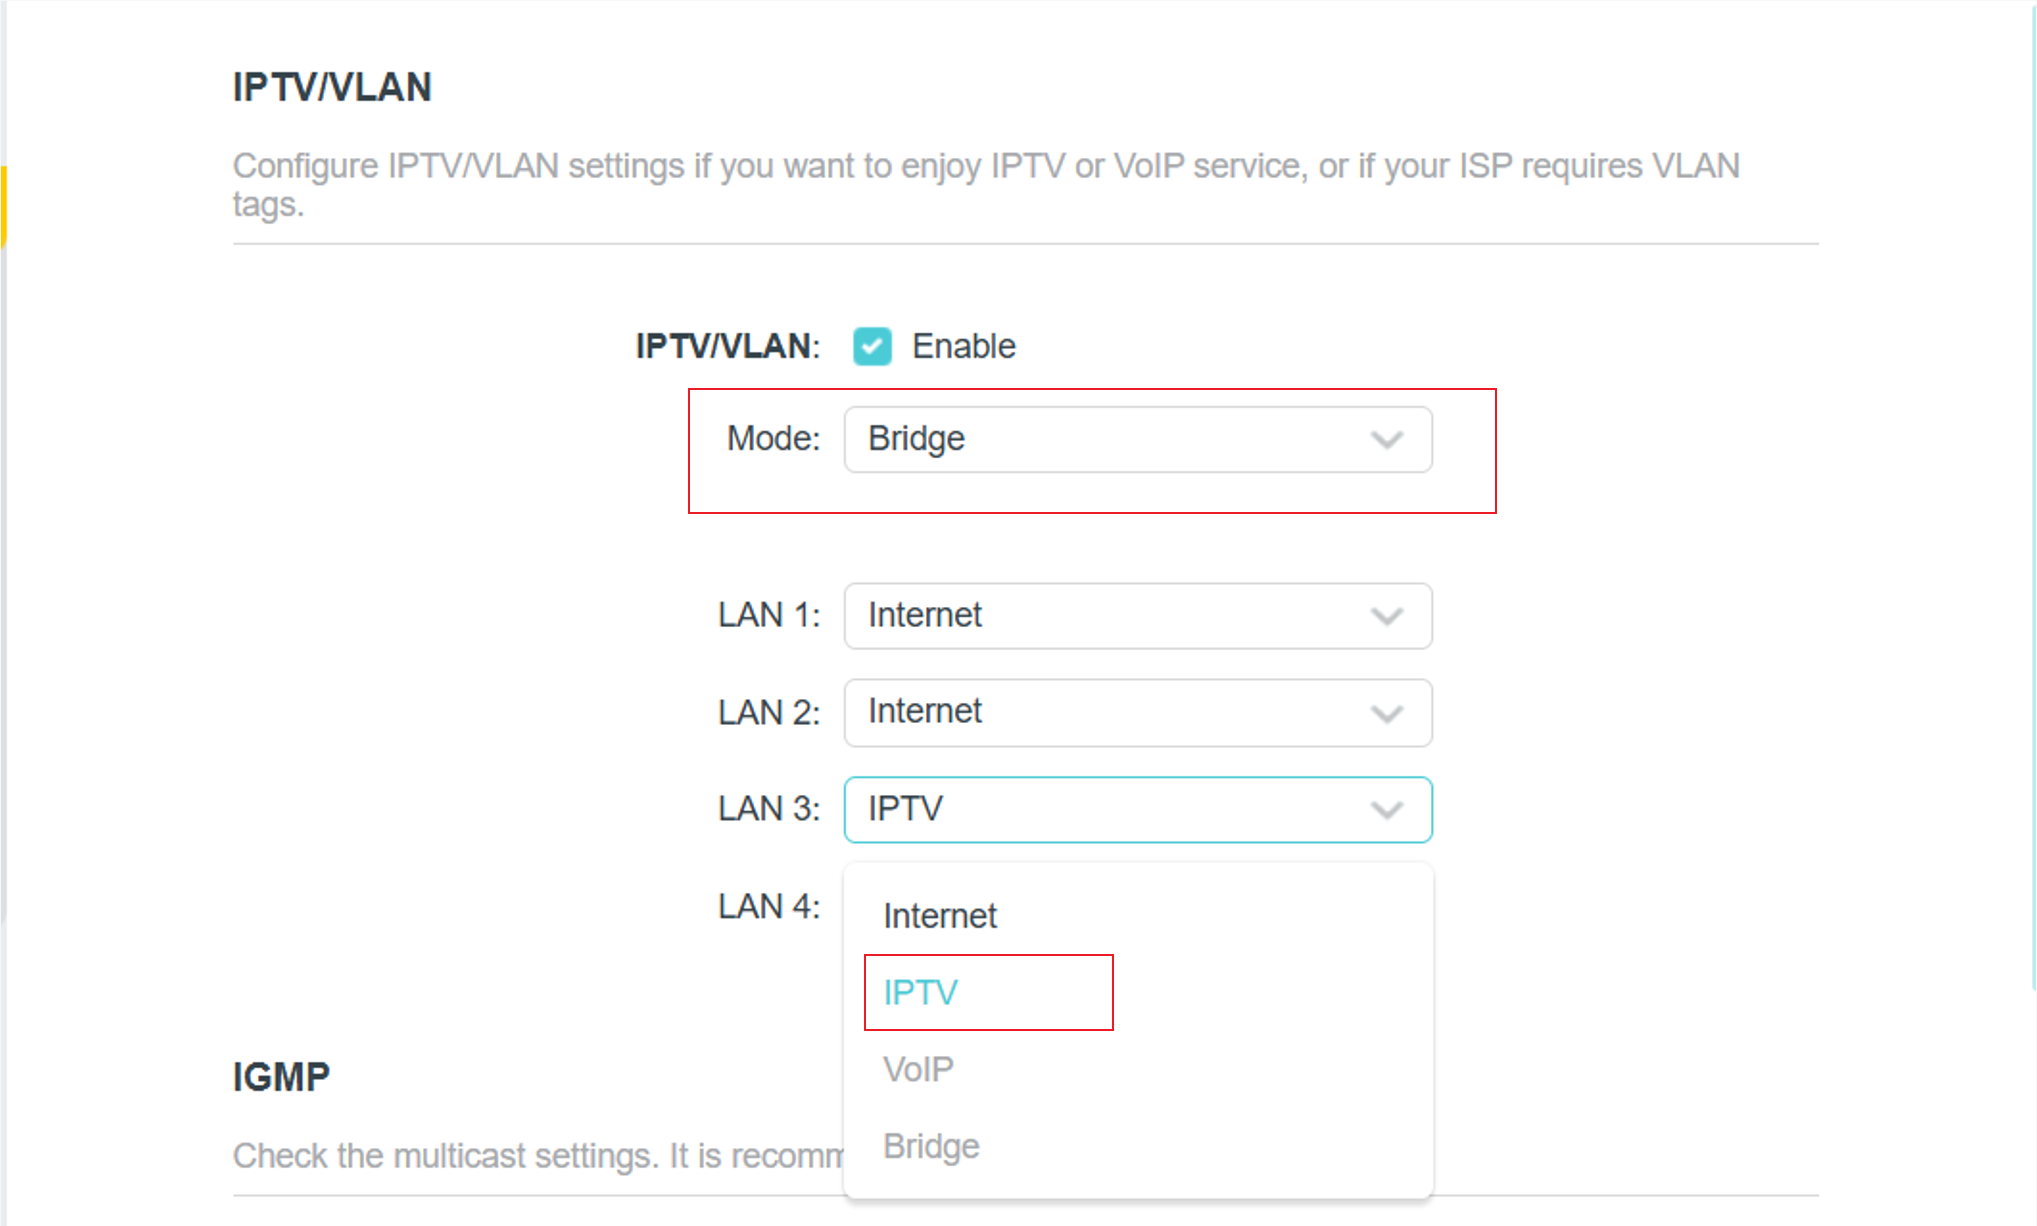
For ISPs that do not require the VLAN ID:
1) Select Bridge mode.
2) Assign a LAN port for IPTV. Example: LAN3 for IPTV.
For ISPs requiring VLAN settings:
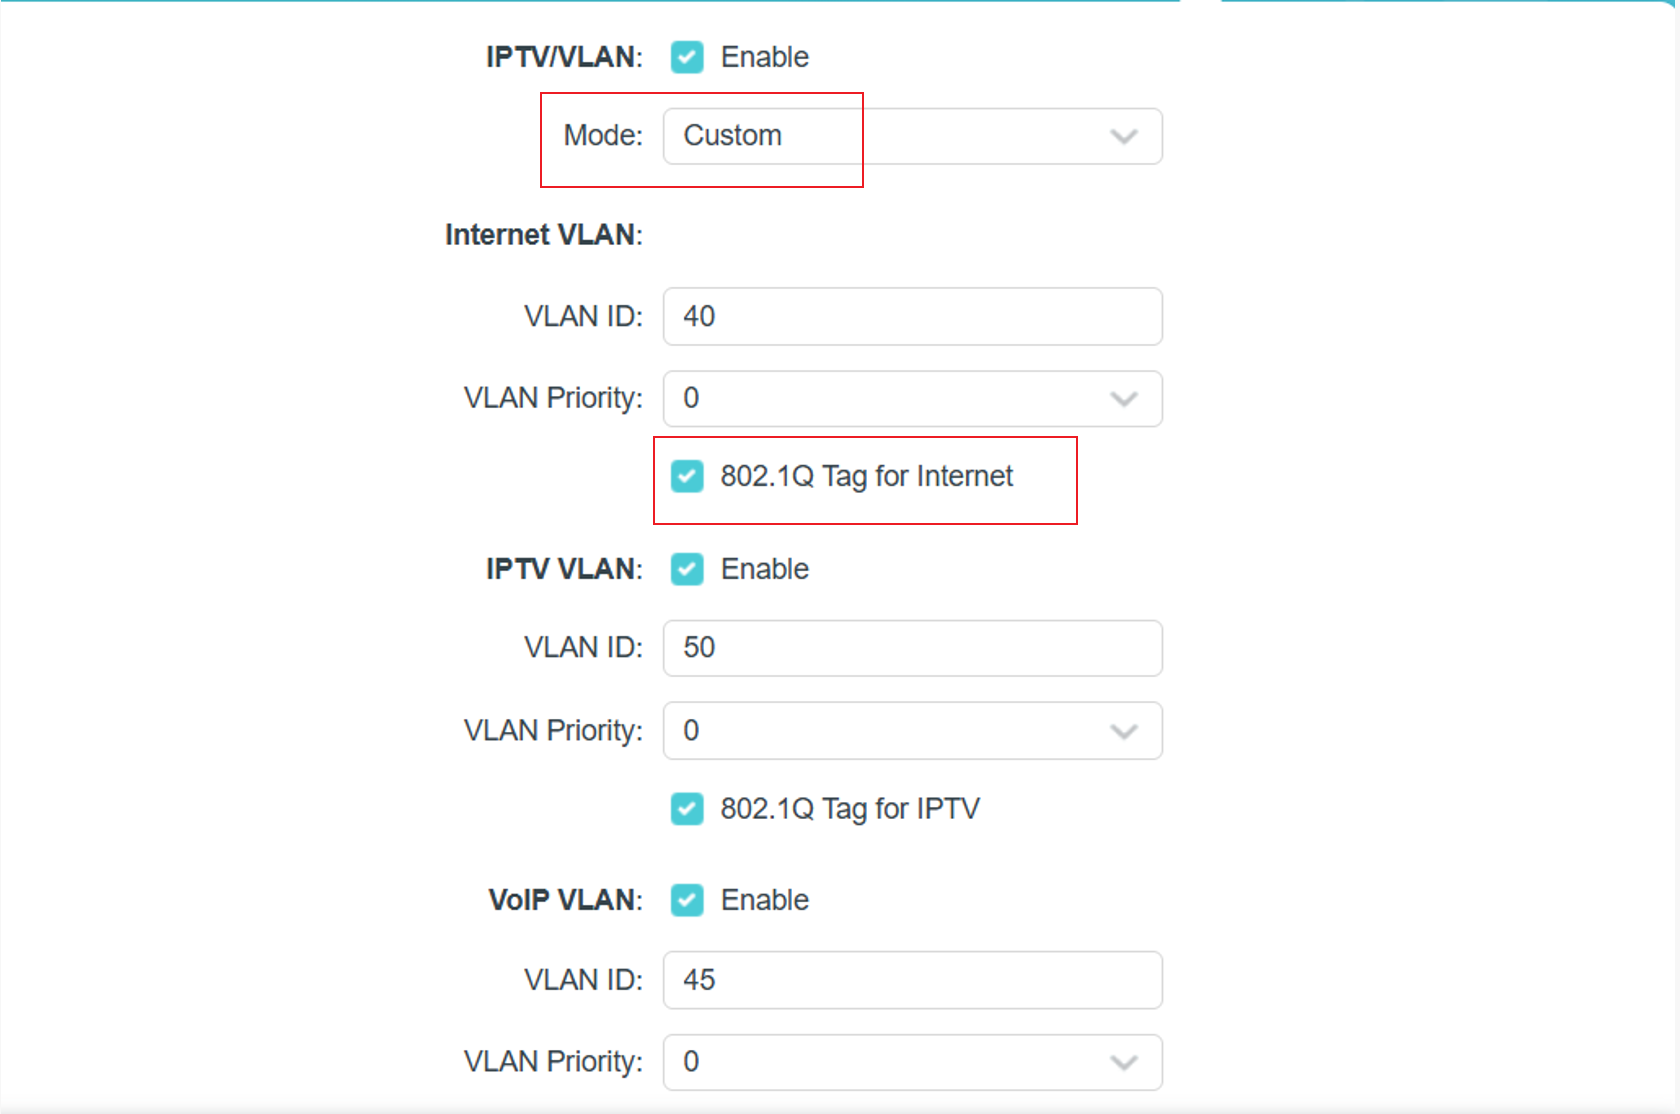
1) Select Custom mode.
2) Enter the VLAN IDs according to your ISP.
Example:
- Internet: VLAN 40
- VOIP: VLAN 45
- IPTV: VLAN 50
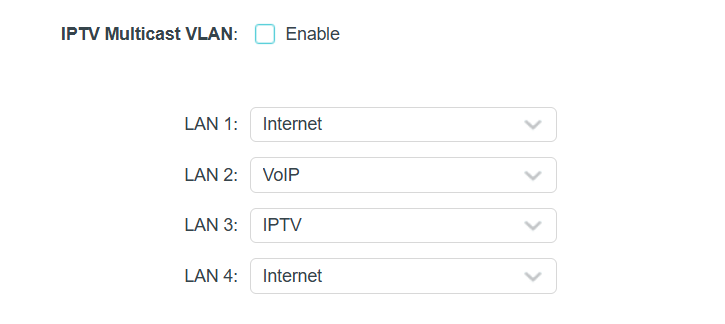
3) 802.1Q Tag and IPTV Multicast VLAN ID should follow your ISP’s requirements.
4) Assign LAN ports to each service.
Example:
- Internet: LAN1, LAN4
- VOIP: LAN2
- IPTV: LAN3
Step 5. After saving the settings, connect your set‑top box (STB) to the selected LAN port and test whether the IPTV service works properly.
Finden Sie diese FAQ hilfreich?
Mit Ihrer Rückmeldung tragen Sie dazu bei, dass wir unsere Webpräsenz verbessern.


Von United States?
Erhalten Sie Produkte, Events und Leistungen speziell für Ihre Region