How to configure the TL-WPS510U working on Ad-Hoc mode through its web page
Αυτό το άρθρο ισχύει για:
For better guidance let's assume there is a following demand for the network:

There’s no any center of the wireless network (e.g. Wireless Router), and every client is connecting with each other. The client which wants to print a document will communicate directly with the TL-WPS510U. The local network is 192.168.1.0/255.255.255.0, and the TL-WPS510U is required to set its IP to 192.168.1.10.
Here are the steps to achieve the goal:
Step 1
On the wireless laptop, change the wireless adapter’s IP to 192.168.0.11/255.255.255.0. Since the default IP address of the TL-WPS510U is 192.168.0.10, you need to set the laptop wireless adapter’s IP to the same subnet of the print server.
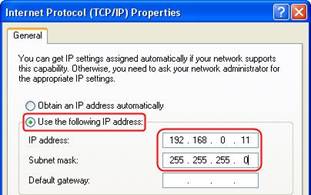
Please click here if you have no idea about how to change the IP address of your computer.
Step 2
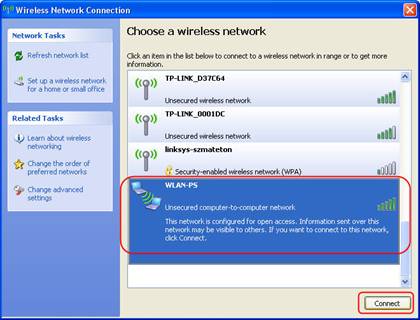
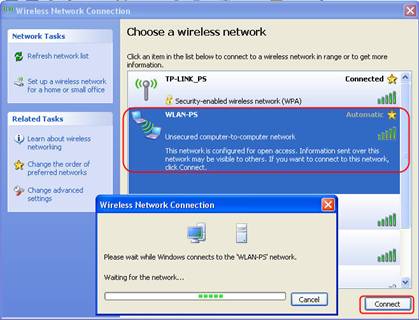
Connect your laptop to the TL-WPS510U. The print server will work on Ad-Hoc mode, with the SSID WLAN-PS in factory default. So please select the wireless network WLAN-PS to connect. If you need to reset the TL-WPS510U but don’t know how to do, please refer to the FAQ
Step 3
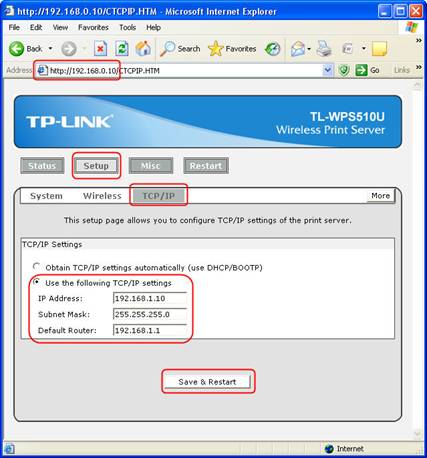
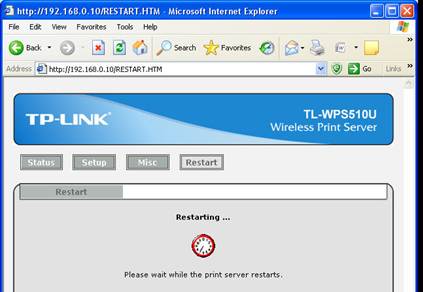
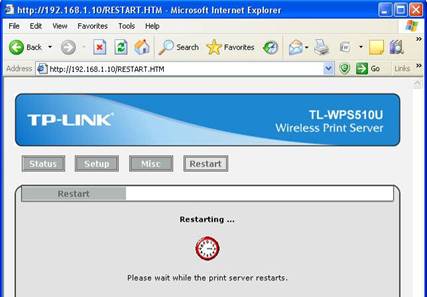
Log into the TL-WPS510U and change its IP address to 192.168.1.10/255.255.255.0. The TL-WPS510U will save and reboot after the configuration.
Step 4
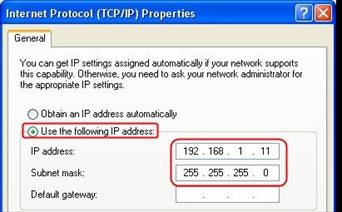
On the laptop, change the wireless adapter’s IP to 192.168.1.11/255.255.255.0 and connects to the Ad-Hoc network WLAN-PS again.
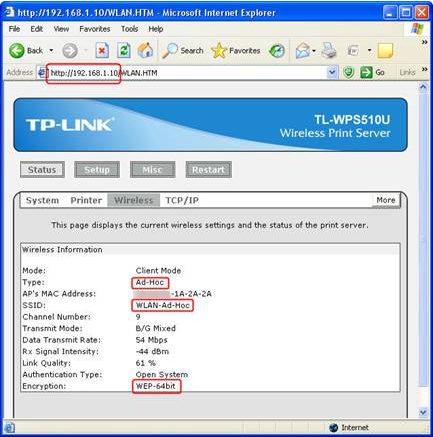
Step 5
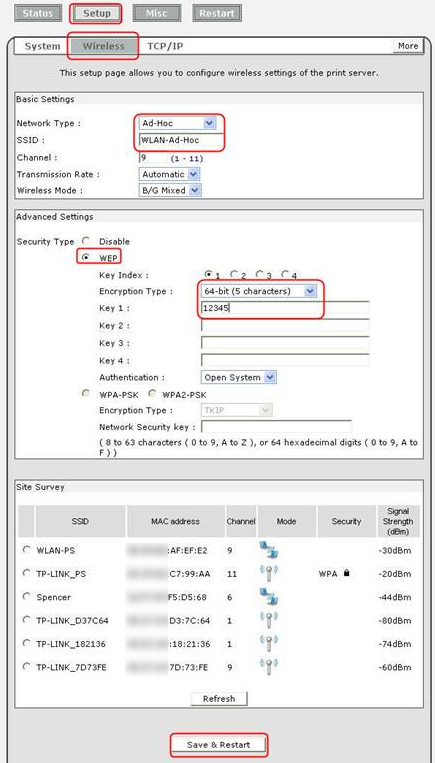
Log into the TL-WPS510U and configure the wireless parameters according to your wireless network. In my example, the SSID is WLAN-Ad-Hoc, and the security type is WEP-64bit with the password set to 12345. After the configuration, the TL-WPS510U also needs to save and reboot.
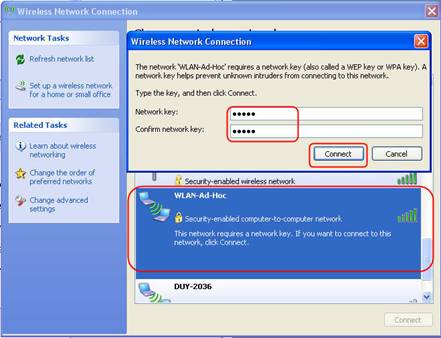
Step 6
Connect your laptop to the TL-WPS510U with a new SSID. As I mentioned in step 5, the SSID is WLAN-Ad-Hoc and the password is 12345.
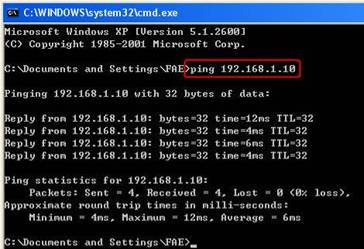
Step 7
Try that you can ping the TL-WPS510U (press WIN key + R, input cmd to launch the command line interface, input ping 192.168.1.10) and you can also log into the TL-WPS510U.
Step 8
Add a Standard TCP/IP port for the printer.
If you’ve already installed the printer on your computer, please refer to this FAQ to add a Standard TCP/IP port.
If you never install a printer on your computer, please refer to this FAQ to add a Standard TCP/IP port.
Είναι χρήσιμο αυτό το FAQ;
Τα σχόλιά σας συμβάλλουν στη βελτίωση αυτού του ιστότοπου.