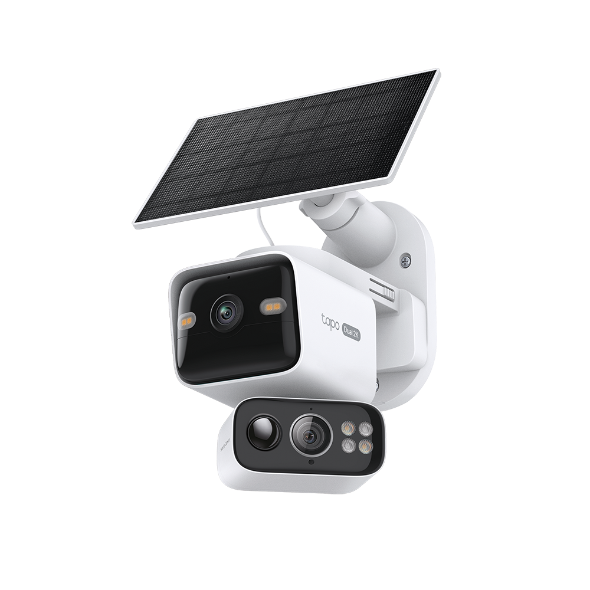
How to set privacy zone for Tapo Camera
Introduction
The Privacy Zones feature allows you to define a specific area that can't be viewed or monitored to protect your privacy. The purpose of the Private zones is to prevent some areas from being recognized.
Note:
- The settings apply only to the current camera view. When the camera is rotated, the camera view changes and the settings will not apply.
- The maximum number of configurable Privacy Zones is limited to four.
Configuration
Step 1: Launch Tapo App, and pick the camera you would like to edit by selecting it to enter the live view.
Step 2: Tap the Device Settings> Video& Display> Privacy Zones.


Step3: Enable Privacy Zones, and click on the arrow symbol to edit.

Step 4: Add zone and drag the corners of the privacy zones to adjust it.
Personalize privacy zones by adding and clearing. Then save the changes.

Get to know more details of each function and configuration please go to Download Center to download the manual of your product.
Is this faq useful?
Your feedback helps improve this site.
TP-Link Community
Still need help? Search for answers, ask questions, and get help from TP-Link experts and other users around the world.


