How to Create and Save View on VIGI PC Client
Contents
Introduction
VIGI PC Client is a PC software which helps manage and monitor your VIGI series devices. This article introduces how to create and save view on VIGI PC client.
Requirements
- VIGI PC client
- VIGI Camera/VIGI NVR
Configuration
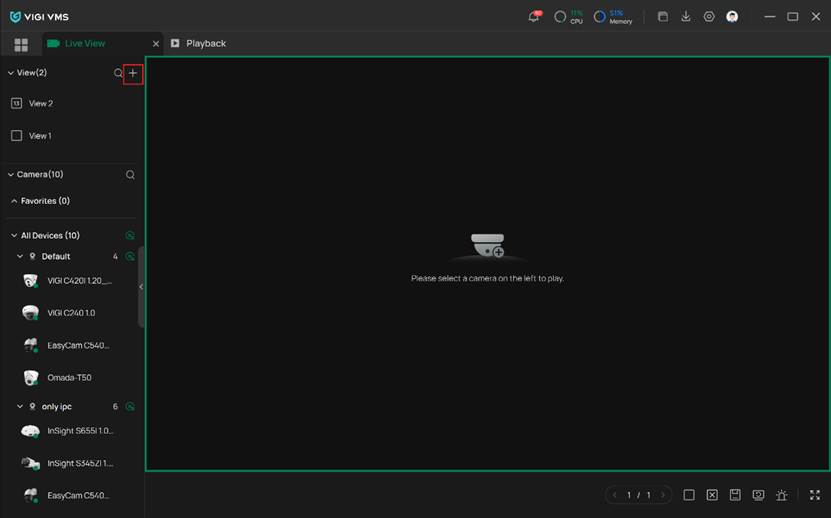
Step 1. Log into the VIGI PC Client. Then find the View column at the left side. Click “+” to create a new view.
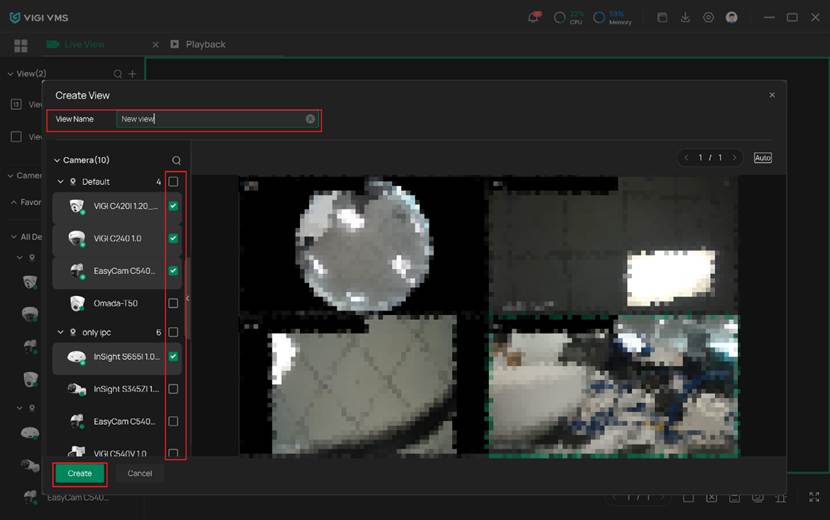
Step 2. Under the Create View page, you may edit your view name and select the cameras you wish to display in this view. You are also able to change the place where you display them as you want by dragging the picture to the desired spot. After that, simply click the green Create to finish it.
Verification
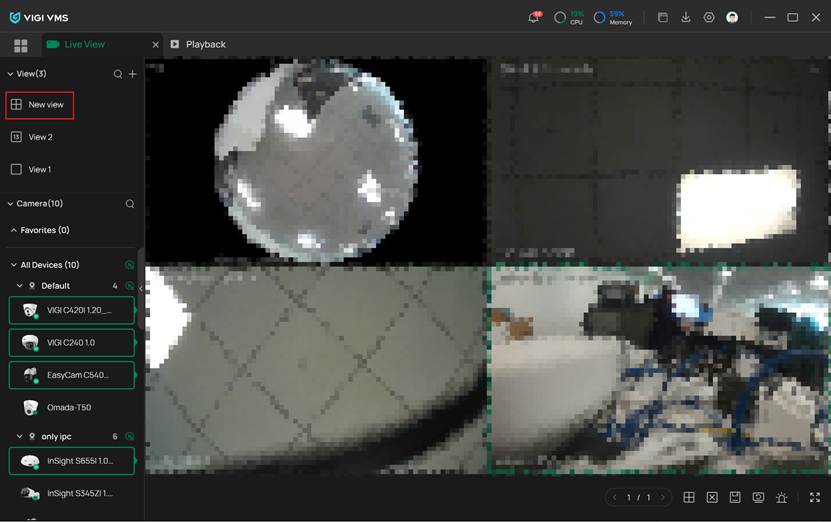
After configuration, you can now watch the view you have just created. Just click the corresponding column at the left side of the dashboard and you will find it. It will be saved so that you can still watch it next time you log in.
Conclusion
You have now learnt how to create and save view on VIGI PC client.
Get to know more details of each function and configuration please go to Download Center to download the manual of your product.
Был ли этот FAQ полезен?
Ваш отзыв поможет нам улучшить работу сайта.


Сообщество TP-Link
Нужна помощь? Задавайте вопросы, находите ответы и обращайтесь за помощью к специалистам TP-Link и другим пользователям со всего мира.