How to setup and use the Media Server feature on the TP-Link wireless routers to share media files
บทความนี้ใช้กับ:
If you have Archer C7 V2/V3 with firmware published on 2014/9/29 and later, Archer C5 V1 with firmware published on 2014/9/12 and later. Please follow this instruction to set it up:
If you have Archer C2, Archer C20i, please follow this instruction to set it up:
If you have Archer C8, Archer C9, Archer C5 V2 please follow this instruction to set it up:
Here I set an example to share the videos in my USB drive, I use the router TL-WR1043ND and Windows 7 Media Player to play it.
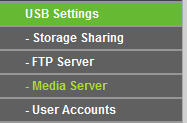
Step 1. Log into the router page and go to USB Settings -> Media Server.
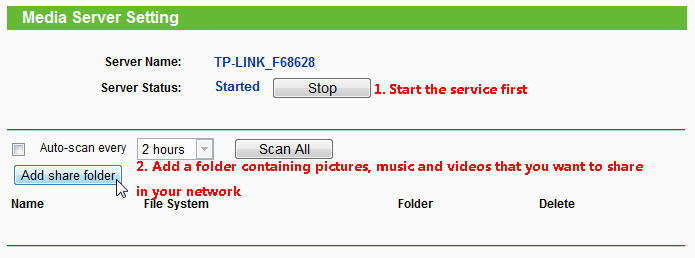
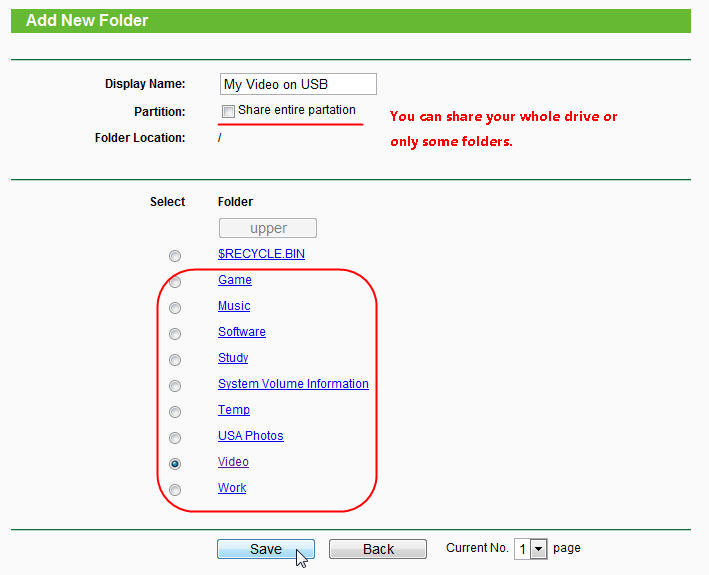
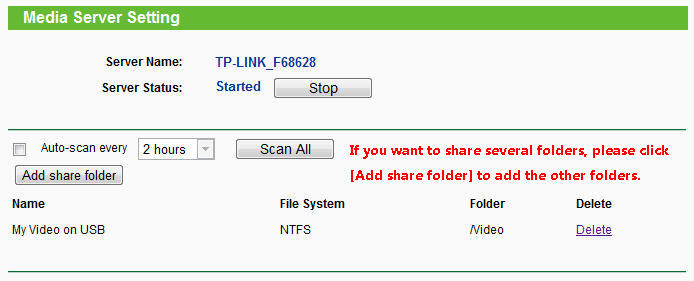
Step 2. Enable Media Server service and choose the folders you want to share.
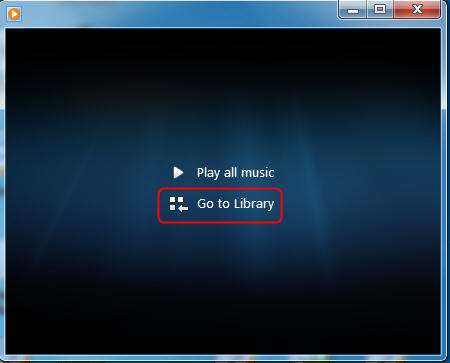
Step 3. Run Windows Media Players and Go to Library.
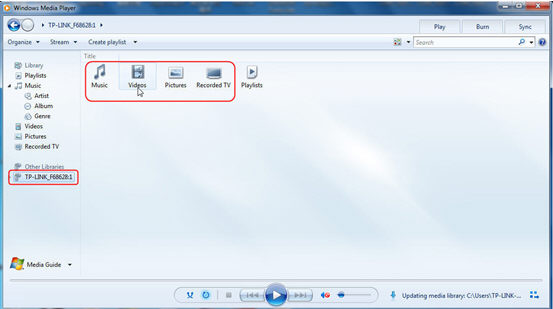
Step 4. Windows Media Player has discovered the media server. Please choose it and select the content.
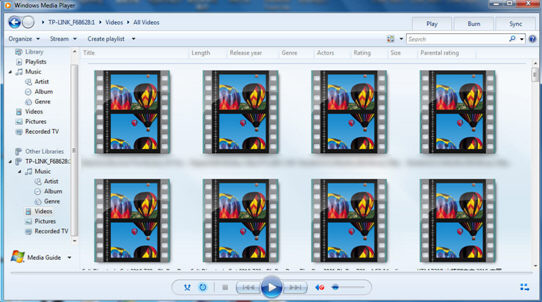
Step 5. You can play it.
Note: Other players may not be able to discover the media server due to that they don´t support DLNA protocol.
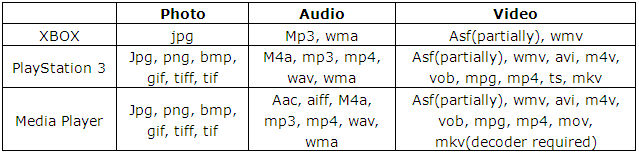
The following multi-media formats are proved to be supported by our wireless routers’ Media Server function.
คำถามที่พบบ่อยนี้มีประโยชน์หรือไม่?
ความคิดเห็นของคุณช่วยปรับปรุงเว็บไซต์นี้