How to configure the TP-Link Smart Bulbs/Plugs/Switches on the Deco App
Since firmware 1.6.0 or later versions, we have added the feature to configure the TP-Link Smart Bulbs/Plugs/Switches directly through the Deco app.
Here we take the Deco M5 as an example, and below are the detailed configuration steps.
Note: Please make sure your Deco app is updated to the latest version as well.
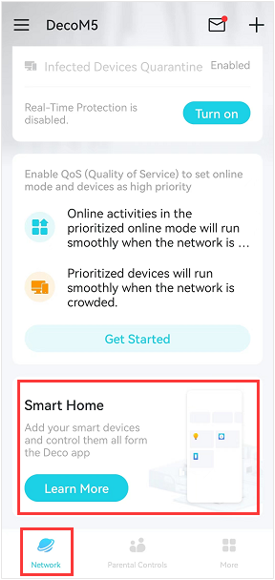
Step 1. Connect your phone to Deco’s Wi-Fi, open the Deco app, go to the Network page and tap the Smart Home section.
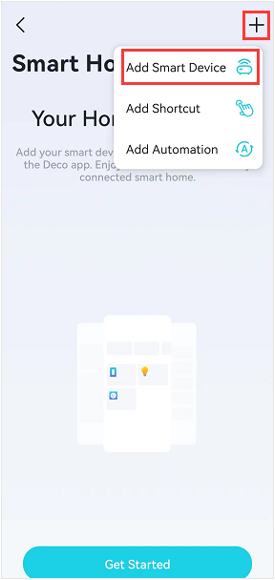
Tap the “+” icon at the top right corner and click on Add Smart Device.
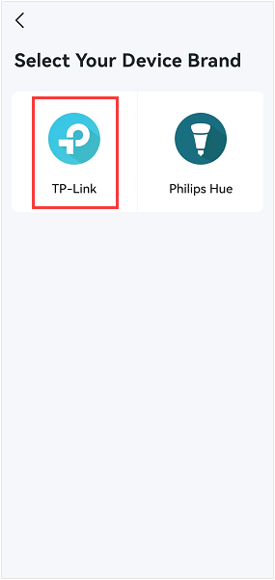
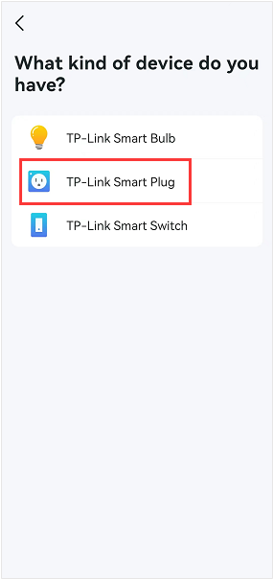
Step 2. Tap TP-Link and then select the smart devices you want to configure.
Here we take the KP115 as an example.
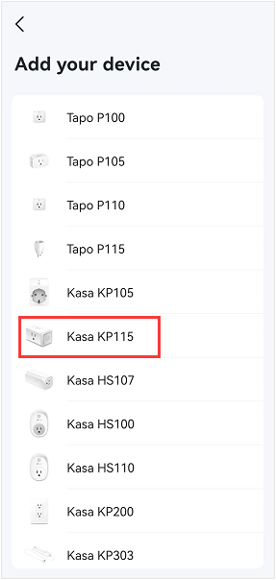
Step 3. Power on the KP115 and wait for the Wi-Fi light to blink orange and blue, then go Next.
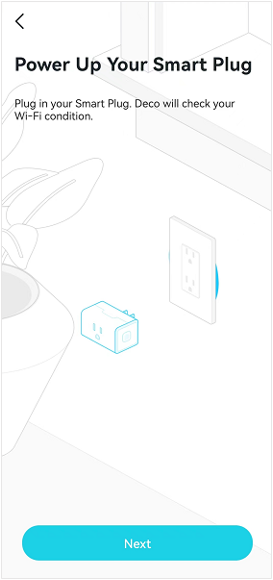
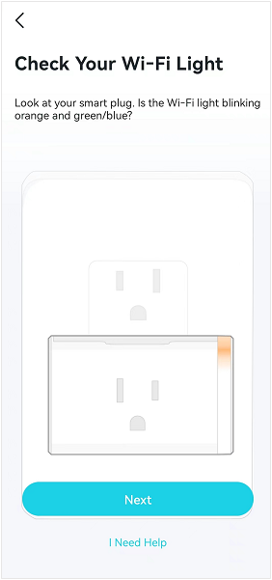
Step 4. Go to the Settings>Wi-Fi page on your phone to connect it to the smart plug KP115’s default SSID, then go back to the Deco app and click on “I’m already connected”.
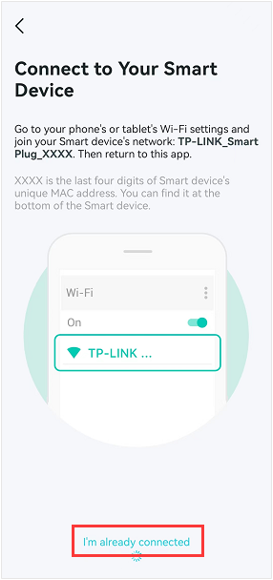
Step 5. Deco will look for the smart plug, and the smart plug will connect to the Deco Wi-Fi network. Once the smart plug is connected, deco will pair the smart plug.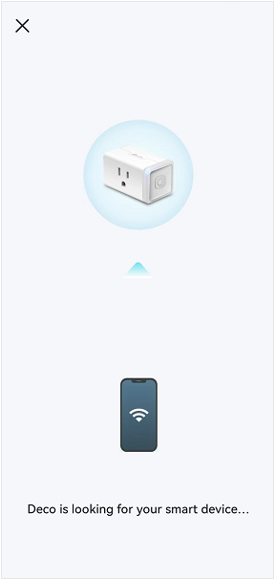
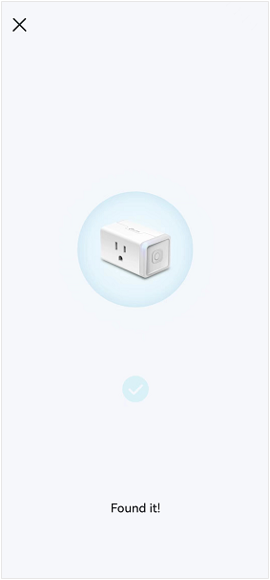
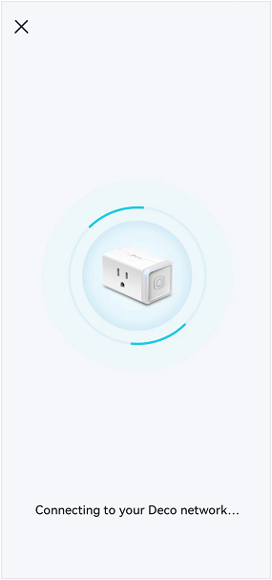
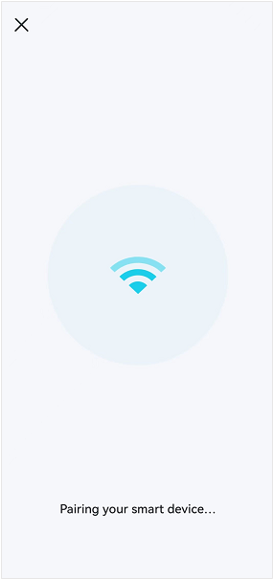
Step 6. Name the smart plug and choose a location for it, then click on Next to apply settings and finish the configuration.
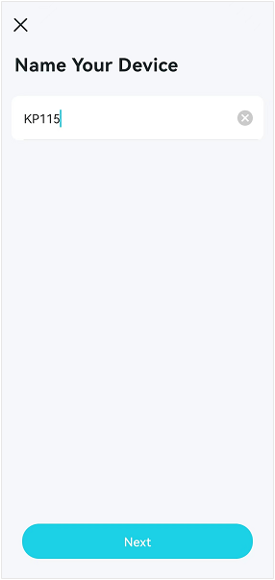
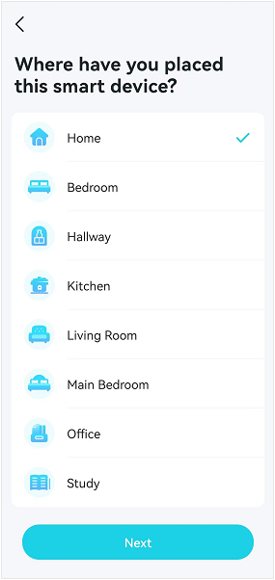
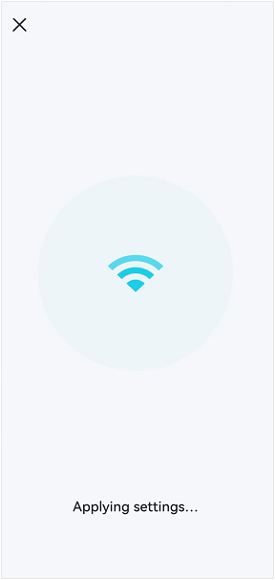
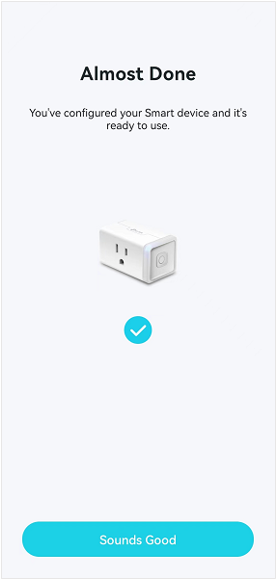
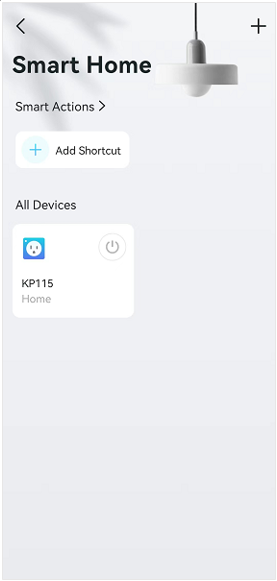
Step 7. Then you will see and manage the smart plug on the Smart Home page.
Is this faq useful?
Your feedback helps improve this site.
TP-Link Community
Still need help? Search for answers, ask questions, and get help from TP-Link experts and other users around the world.
