How to view System information of TD-W8960_V5 V6, TD-W8968_V3 V4 and capture the data for analyzing (Advanced)
1. View from System log
Step 1: Open the web browser and type the IP address of the device in the address bar (default is 192.168.1.1). Press "Enter".
Step 2: Type the username and password in the login page; the default username and password are both admin. Click "OK" to log into the device.
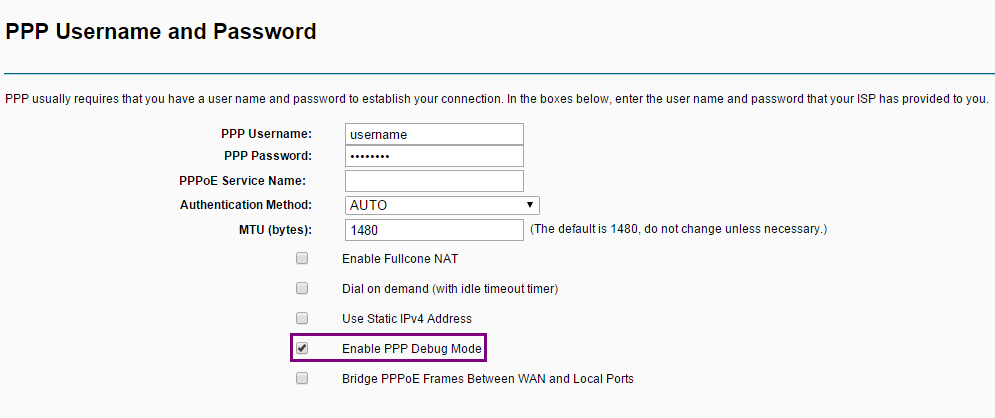
Step 3: Enable the "Enable PPP Debug Mode" when you set up dialing up configuration, then click "Next" to complete the configuration.
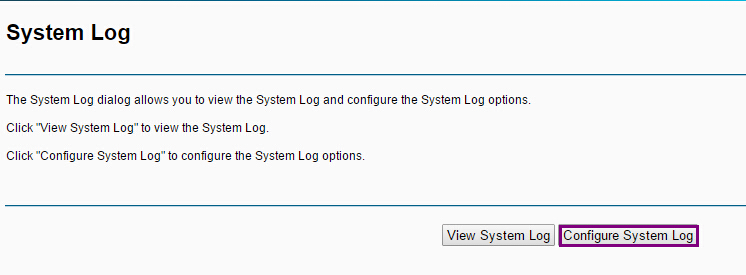
Step 4: Click Management > System Log on the left side, then click "Configure System Log" button.
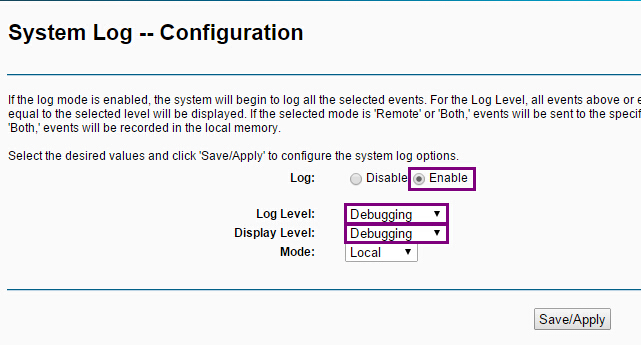
Step 5: Select "Enable" log, and change both Log Level and Display Level to "Debugging", and then click "Save/Apply".
Step 6: Click "View System Log" to open the system log page.

Step 7: Click "Refresh" button at the bottom of the page to view the System Log, then copy all of this log information and save it.
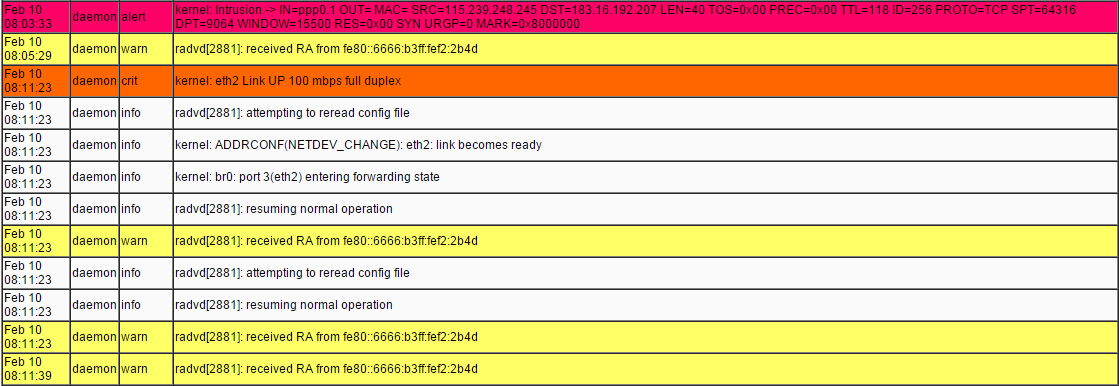
Then you can save the information by copying them into a document.
2. Capture WAN to LAN data by Port Mirror
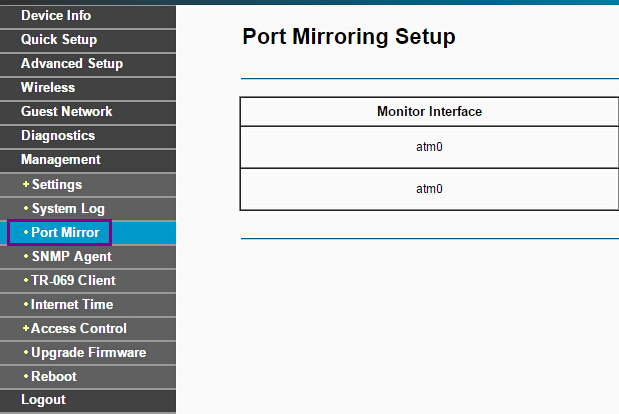
Step 1: After enabling the system log, refresh the web page. Then you will see there’s a "Port Mirror" Option in "Management".
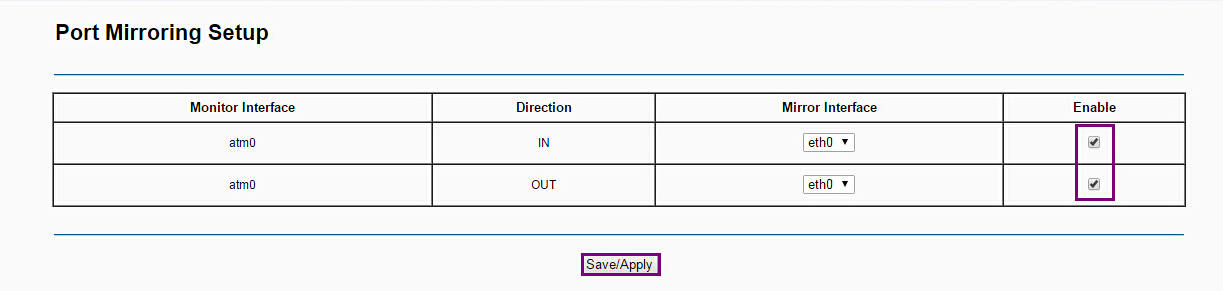
Step 2: Choose Mirror Interface from "eth0" to "eth3", which means LAN1 to LAN4 port. Then enable them. For example, if you choose eth0, you need to connect your computer to LAN 1 port.
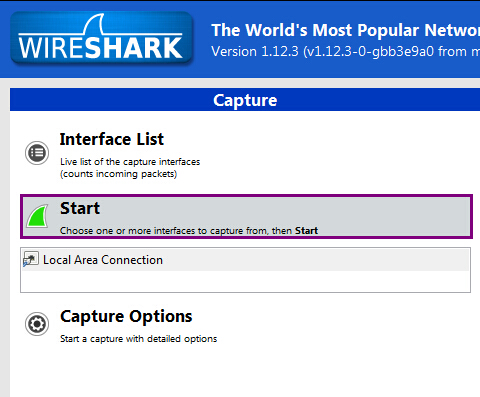
Step 3: Now we can use "Wireshark" to capture WAN to LAN data. Run "Wireshark" and click "Start".
Step 4: After capturing the target data, click "Stop"(Red icon).
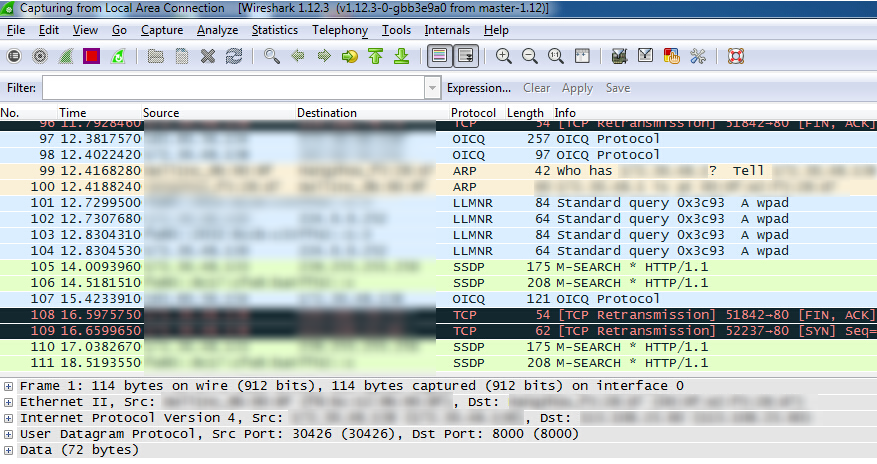
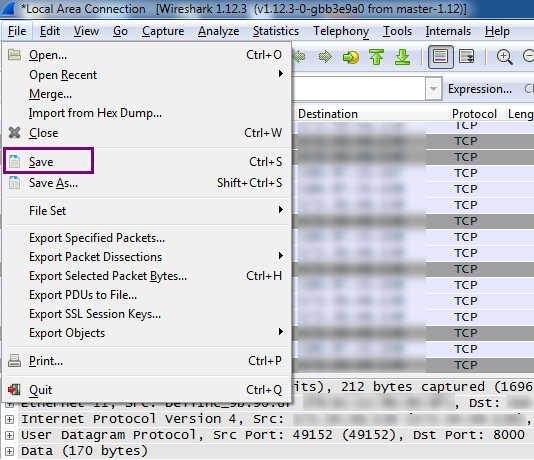
Step 5: Click File > Save to save the captured data. Then send this file to us to further analyze.
Is this faq useful?
Your feedback helps improve this site.
TP-Link Community
Still need help? Search for answers, ask questions, and get help from TP-Link experts and other users around the world.